A Confidence-Building 3-Day Hands-On Workshop
Learn the foundational techniques to create beautifully crafted decorative pillows with professional-quality results.
3 Days • Only 6 Students • $650
You know how to sew—but maybe your pillows don’t always turn out quite the way you pictured.
Perhaps the corners aren’t as crisp as you’d like. Pattern placement can be tricky. Welt cord feels intimidating. Or maybe you’ve been avoiding zippers altogether.
During this three-day, hands-on workshop, I’ll take you step by step through the foundational techniques I use to create professional-quality decorative pillows.
You’ll learn not only how to construct different pillow styles, but what to look for along the way—the measurements, construction methods, and small details that create a beautifully finished, professional result.
Our goal isn’t to race through projects. It’s to give you the time to learn, practice, and understand the techniques so you can use them confidently long after the workshop is over.
Together, we will practice:
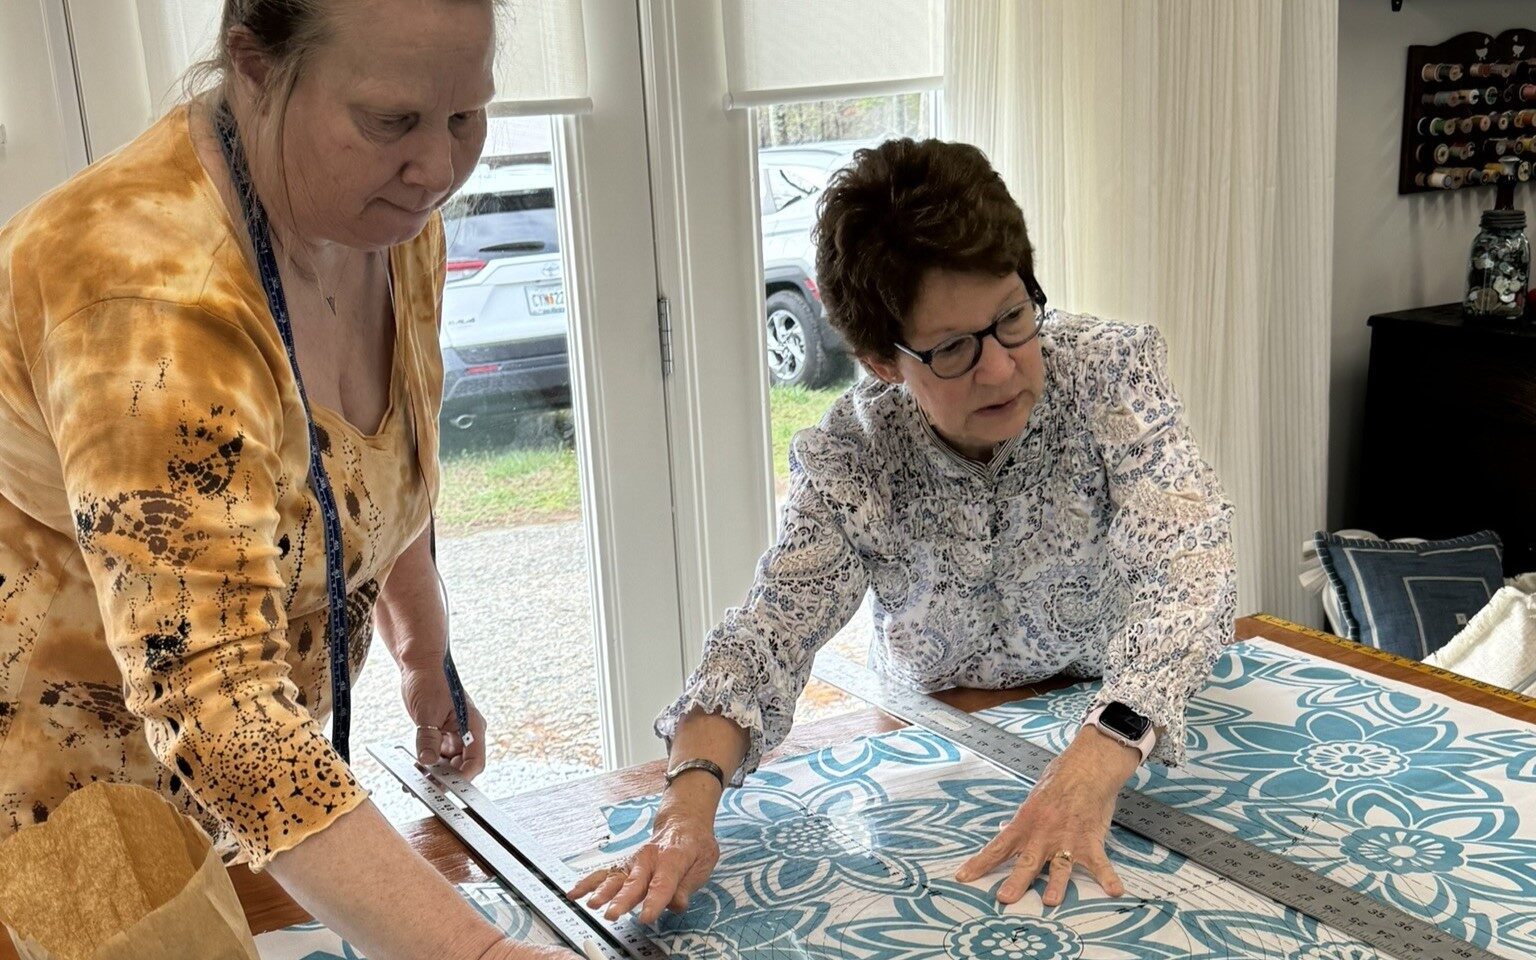
- Accurate measuring, cutting, and pattern placement
- Sewing sharp, professional corners
- Fabricating custom welt cord
- Installing flawless zipper closures
- Working with pillow forms and dimensional construction
- Professional workroom finishing techniques
- Class Size: Limited to 6 students for maximum personalized guidance
- Duration: 3-Day Workshop
- Investment: $650
Learn the Skills Through Hands-On Projects

Knife-Edge Pillow
Master pattern placement, tapered corners, fit and professional finishing.
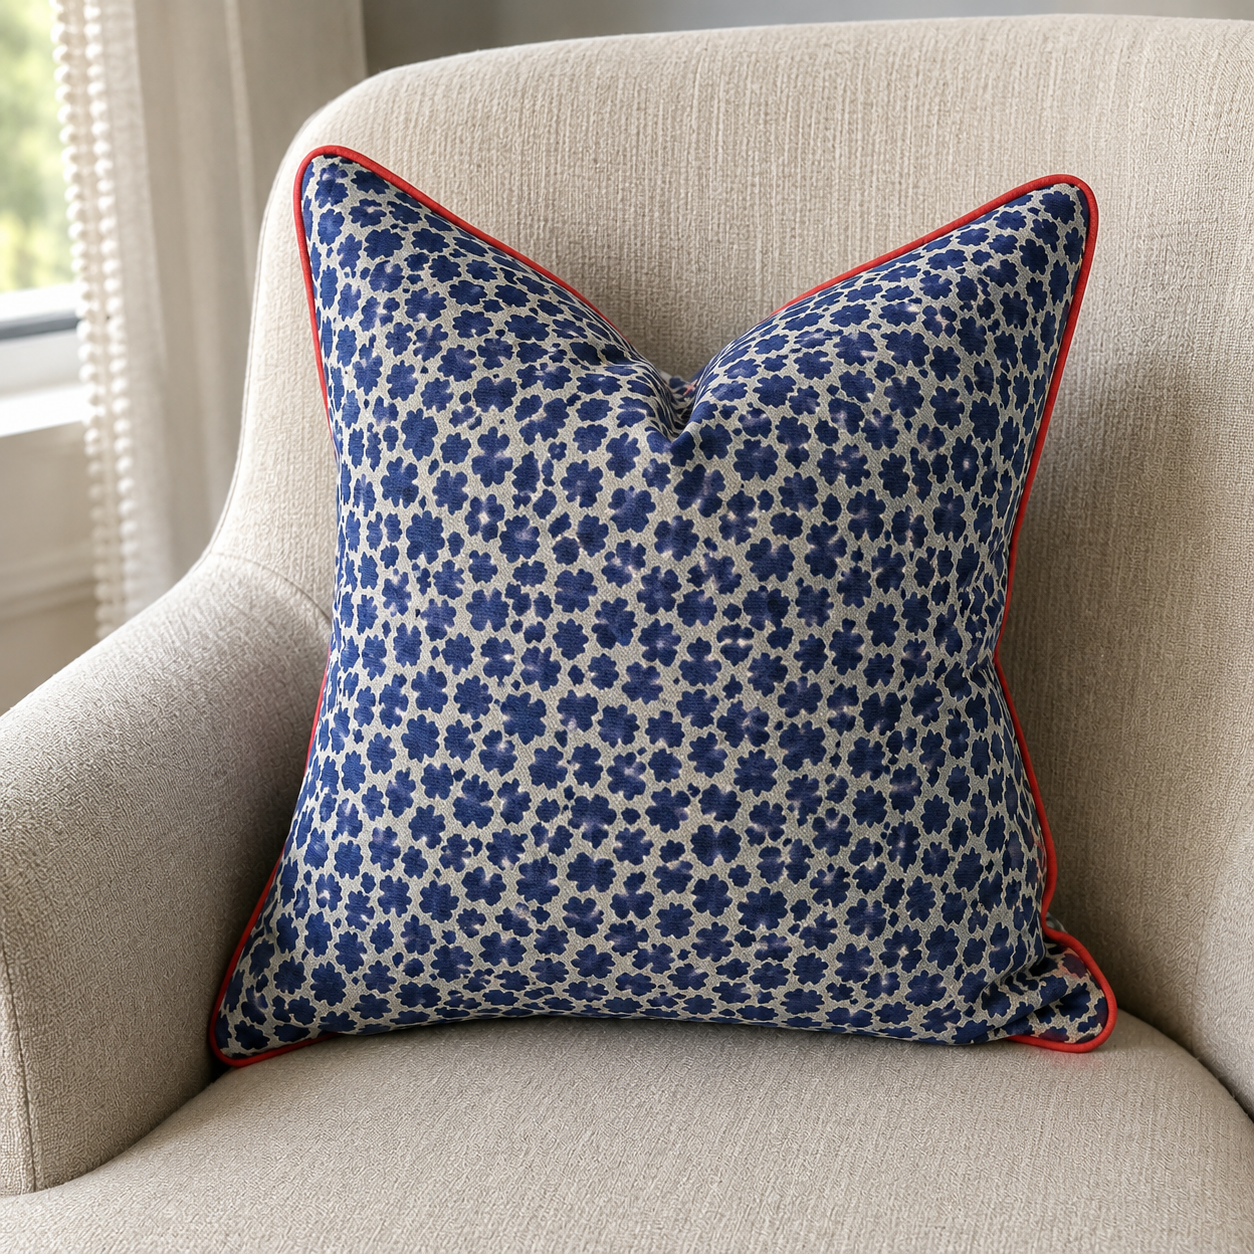
Welted Pillow with Contrast Welt
Learn welt cord construction and a professional zipper technique.
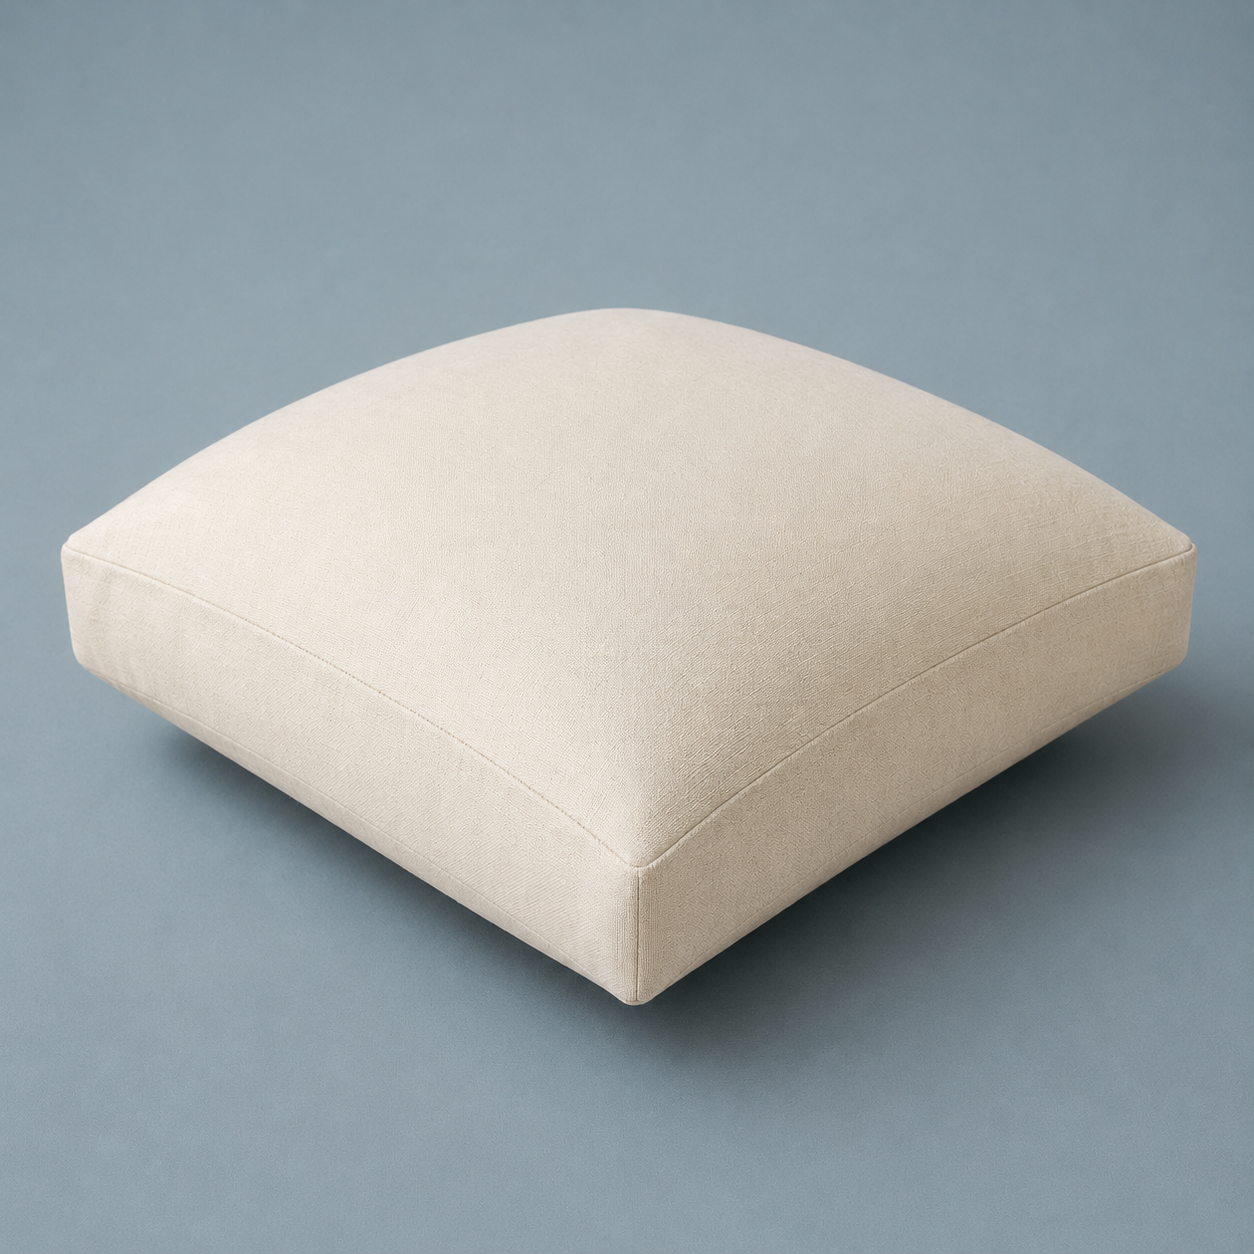
Boxed Pillow
Explore dimensional construction, accurate boxing and proper fit.
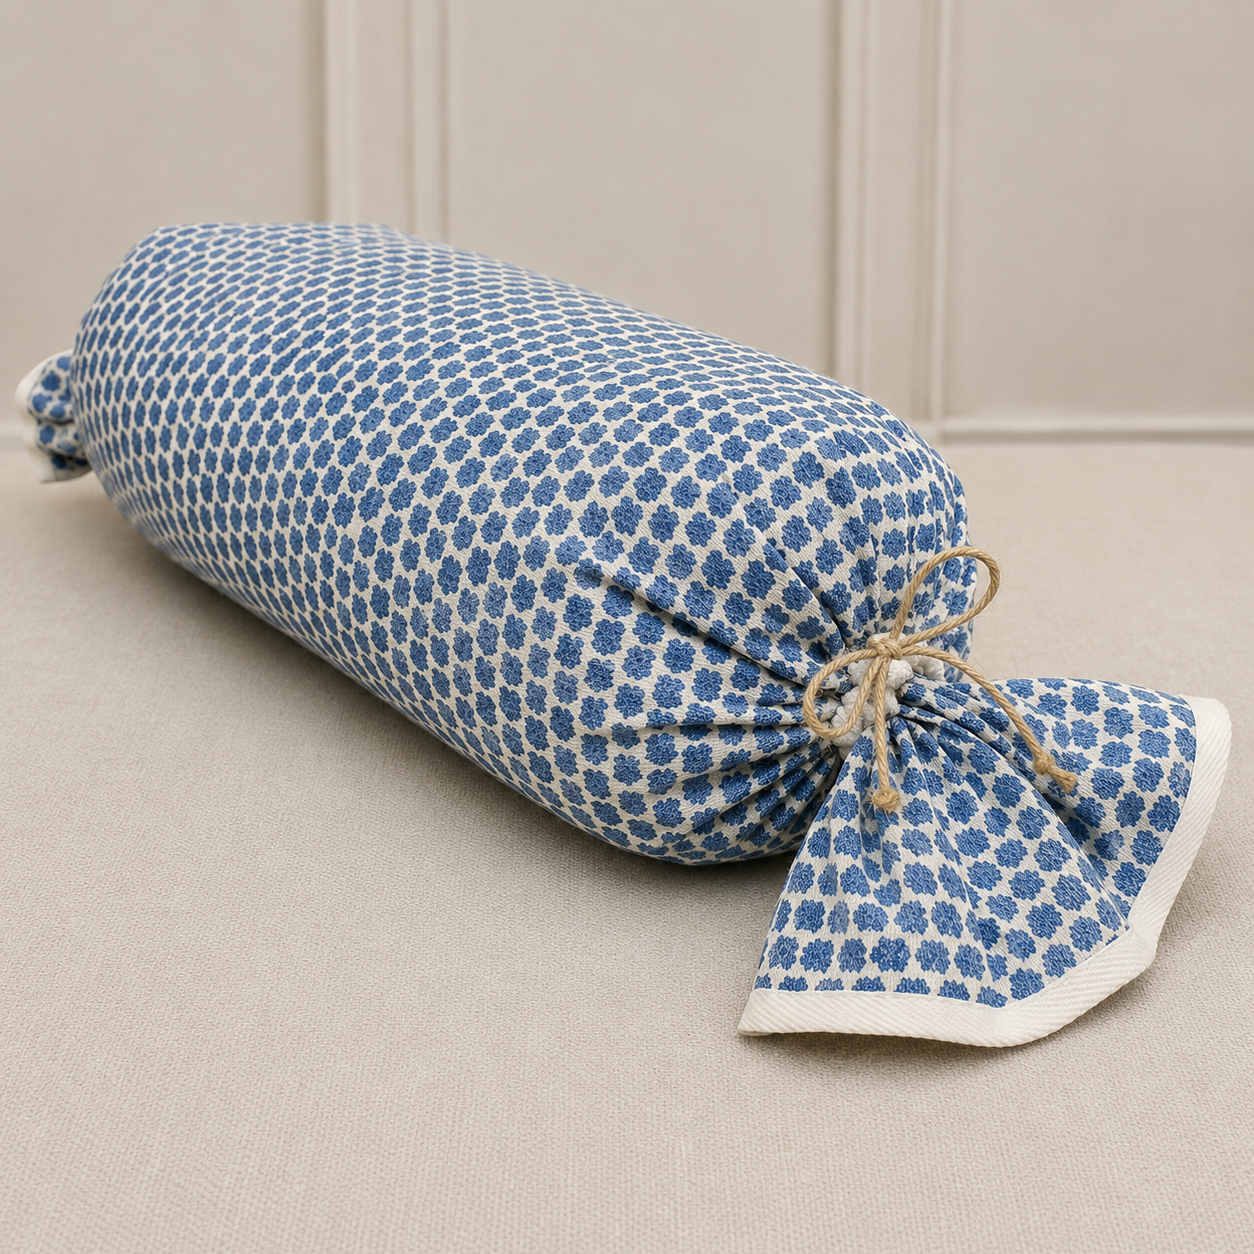
Cinched-End Bolster
Learn cylindrical construction, measuring and a gathered end treatment.
SCHEDULE
DAY ONE — KNIFE-EDGE PILLOW
Arrival – Students arrive between 8:00 am and 8:30 am.
Introductions – Once everyone’s fabrics are brought inside and set up, we take a few minutes to visit and get to know one another.
Getting Started – Then it’s time to start learning all about decorative pillows. See bullet point list below.
Lunch Time – At 12:30 pm we take a 1-hour break
Quitting Time – We end the day around 4:00-4:30. With all the information you’ve learned, you’ll be ready for a break!
We’ll begin with the details that affect every pillow you make.
- Measure and plan for the finished pillow size
- Cut accurately and maintain consistent seam allowances
- Work with patterned fabrics and repeats
- Position and match patterns for a professional finish
- Create clean, tapered corners
- Choose and work with the right pillow form
- Construct a knife-edge pillow
- Explore envelope, snap and tie closures
- Use proper pressing techniques throughout construction
DAY TWO — WELTED & BOXED PILLOWS
Starts at 8:30 a.m
What to Expect on Day Two –
Now we’ll build on those fundamentals with techniques that elevate the finished pillow—and begin working in three dimensions.
- Make and apply professional-quality welt cord
- Join welt cord for a clean finish
- Navigate corners neatly with welt cord
- Install a professional zipper closure
- Combine a zipper with welted pillow construction
- Begin constructing a boxed pillow
- Understand how boxing affects finished dimensions and fit
- Calculate and cut boxing accurately
- Apply boxed-pillow techniques to cushions, window seats and other projects
- Recognize and correct common construction problems
Lunch Time – At 12:30 pm, we take a 1-hour break
Quitting Time – Expect to end the day between 4:00-4:30 pm
DAY THREE — CINCHED-END BOLSTER
Starts at 8:30 a.m
What to Expect Day Three –
Our final day introduces cylindrical construction while leaving time to reinforce what you’ve learned, finish work in progress, and get your questions answered.
- Complete boxed-pillow techniques as needed
- Explore the fundamentals of cylindrical pillow construction
- Understand diameter, circumference, and finished length
- Measure and plan a cinched-end bolster
- Create a gathered, cinched-end finish
- Practice final fitting, pressing and professional finishing
- Revisit techniques or projects from Days 1 and 2
- Receive individual troubleshooting and guidance
- Leave knowing how to approach your next pillow with greater confidence
Lunch Time – At 12:30 pm, we take a 1-hour break
Quitting Time – Expect to end the day no later than 4:00 pm
Throughout all three days, you’ll learn why I make certain construction decisions—not simply how to follow a set of instructions.
SUPPLIES & TOOLS YOU WILL NEED FOR THIS WORKSHOP
- 1½ yards of fabric for the plain knife-edge pillow
- 2 yards of fabric for the welted knife-edge pillow, including bias-cut welt strips
- 1½ yards of fabric for the boxed pillow
- 1 yard of fabric for the bolster
- Two 18-inch square pillow inserts
- One 22-inch square insert for the boxed pillow
- One 7-inch × 16-inch bolster insert
- Three 20-inch zippers
- Thread to coordinate with your fabrics
- Fabric scissors and thread snips
- Pins or sewing clips
- Seam ripper
- Measuring tape and clear ruler
- Fabric marking pencil or chalk
- Hand-sewing needles
- Notebook and pen
- Your sewing machine and its accessories, only if you prefer to use your own
I’ll provide pillow lining materials and welt cord. Industrial sewing machines will be available. If you need one of the limited domestic machines, please contact me before registering.
Allow extra fabric for large prints or precise pattern matching. Please don’t cut your fabric before class—we’ll measure, plan pattern placement, and cut together.
It’s About What You Learn—Not How Fast You Sew
Some students work quickly. Others prefer more time to practice a technique, ask questions, or redo something until they understand it.
Both are welcome here.
You may complete every project during our three days together—or you may leave with a project ready to finish at home.
Success isn’t measured by how many pillows you carry out the door.
It’s measured by how much more confidently you can make the next one.
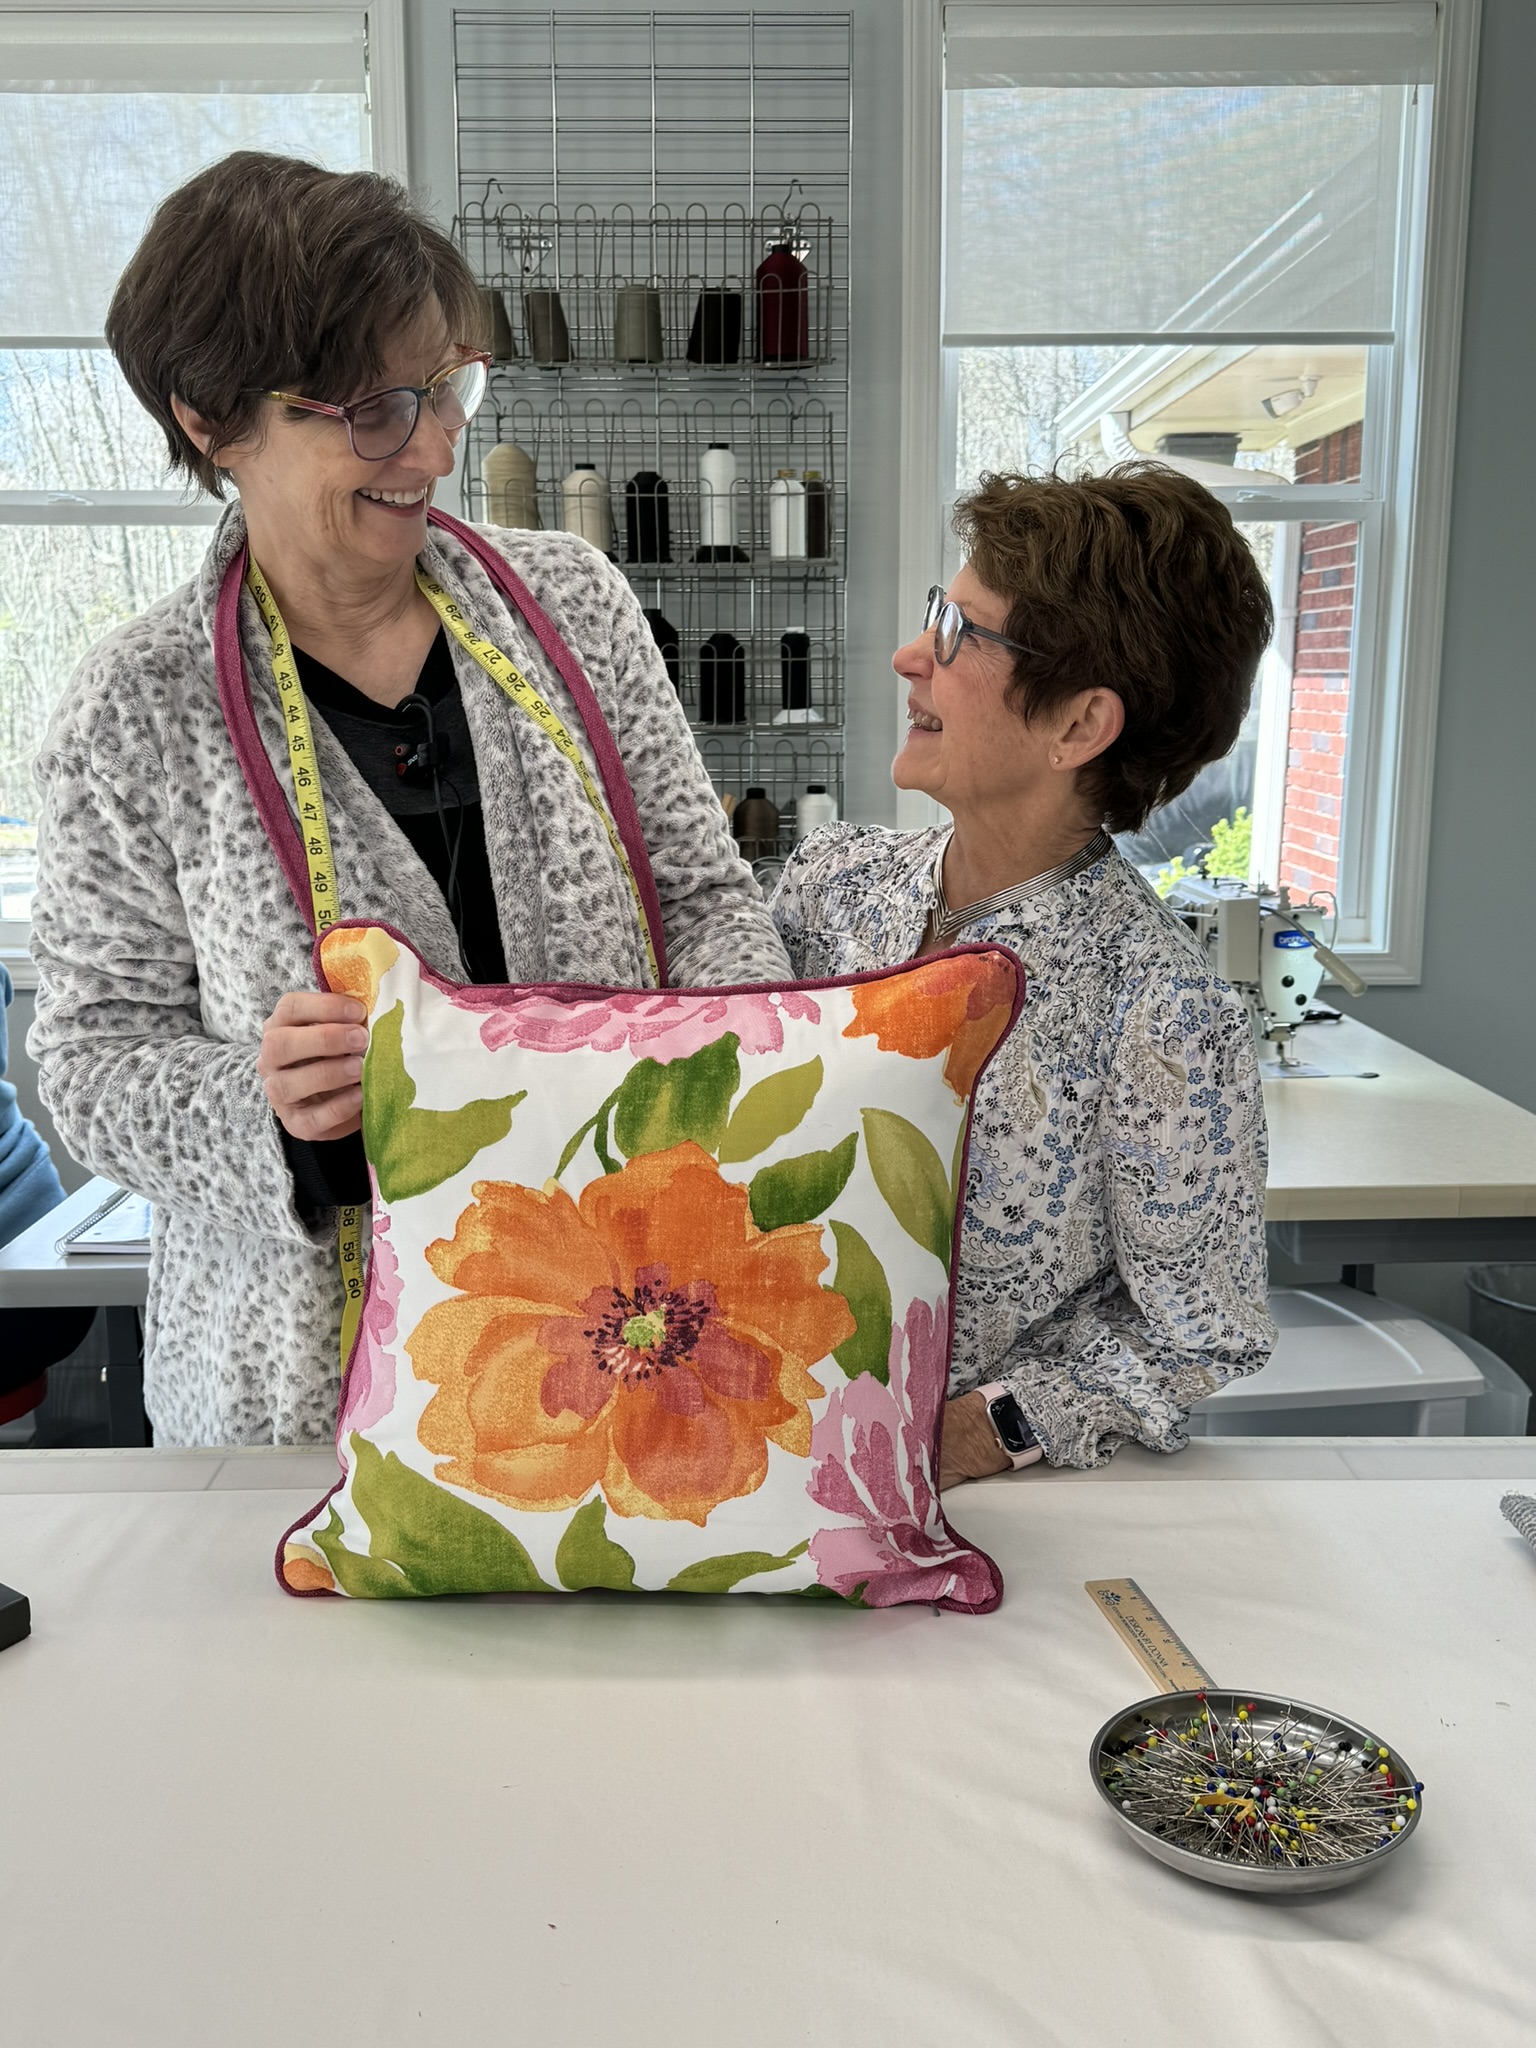
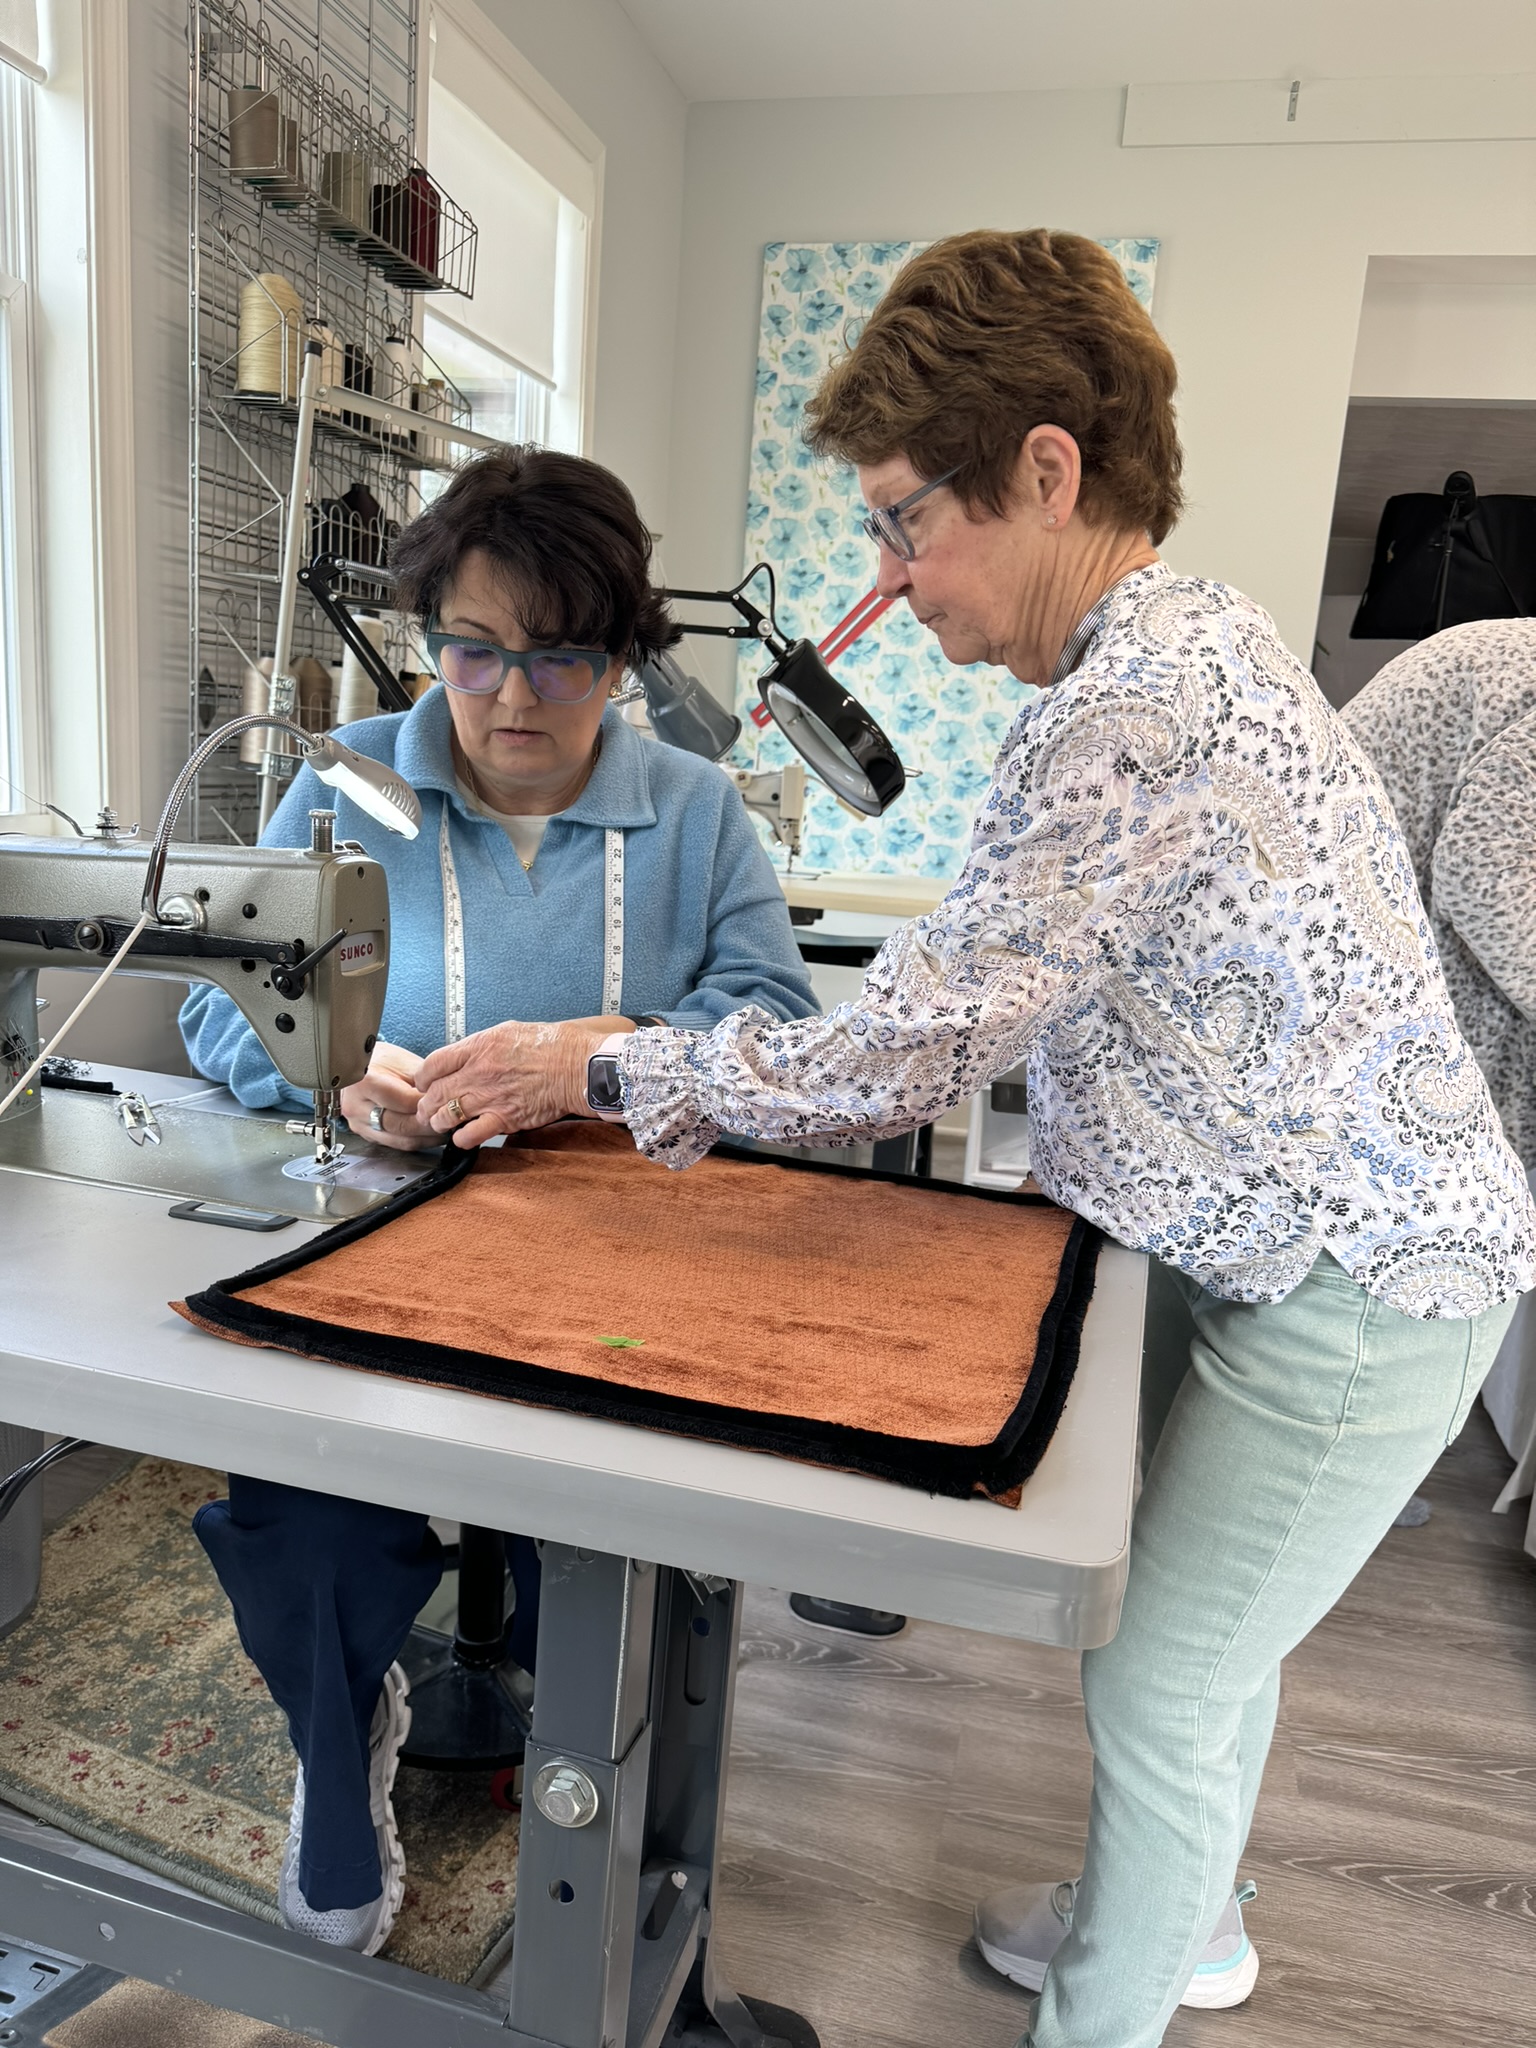
Build Your Skills. Create with Confidence.
You already know how to sew. Now it’s time to strengthen your skills, learn professional techniques, and gain the confidence to create work you’re proud of.
With hands-on guidance every step of the way, you’ll learn, practice, ask questions, and discover what you’re capable of creating.
Your next beautiful project starts here. Reserve your seat today.
By attending this workshop, you agree to allow Designs by Donna to take photos or video of you for marketing and promotional purposes.
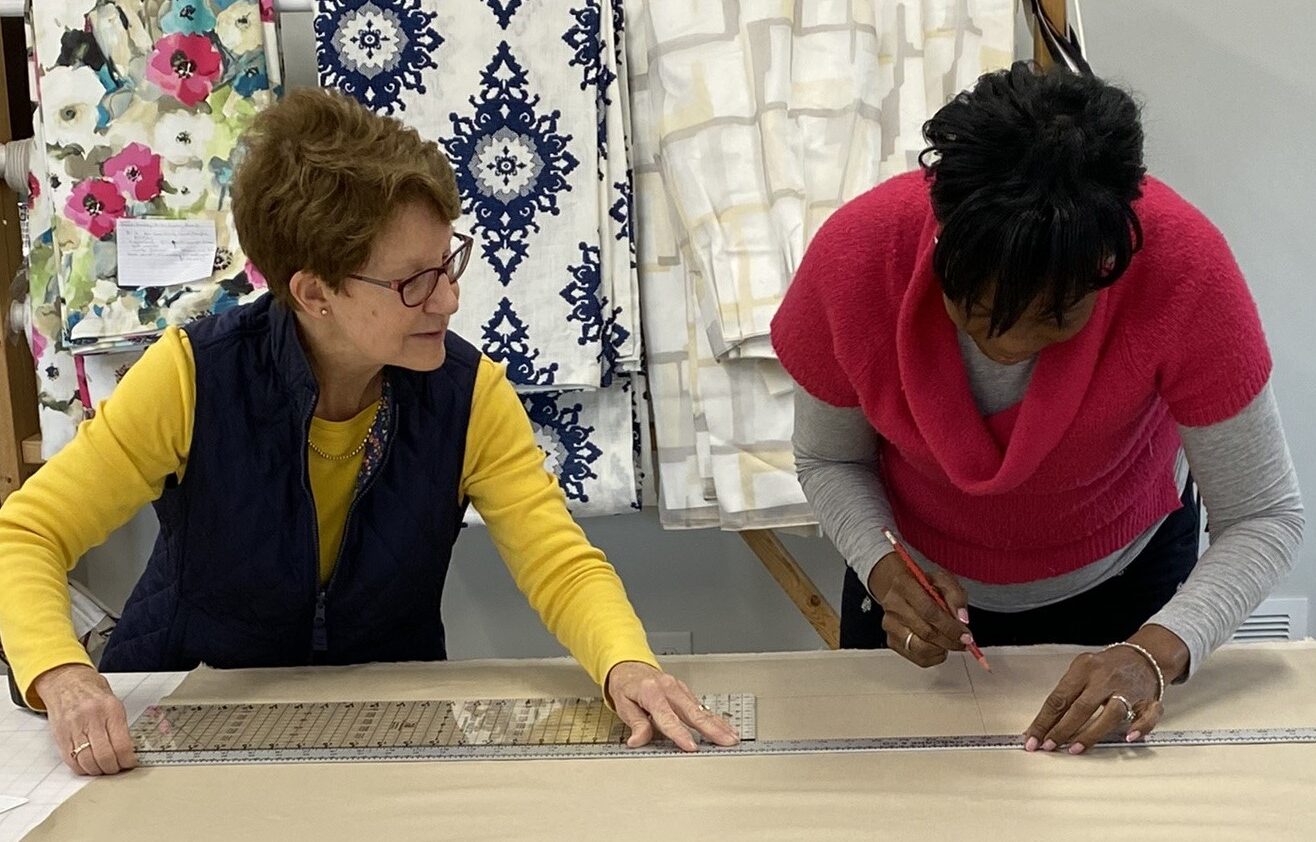
Learn With Someone Who Knows What to Look For
After almost 4 decades of creating custom soft furnishings, I’ve learned that the smallest details often make the biggest difference.
I’ve also learned that knowing how to sew and knowing how to achieve a beautifully finished, professional result aren’t always the same thing.
Maybe you’ve wondered why your corners don’t look quite right. Why your pillow doesn’t fit the form the way you expected. How to handle a difficult pattern repeat. Or whether there’s simply a better way to do something.
Those are the things I want to help you see.
As an award-winning designer, fabricator, and educator, I’ll share the professional techniques I’ve developed and used throughout my career—but I’ll also teach you what I’m looking for, why I make certain construction decisions, and how I troubleshoot when something isn’t working.
My goal isn’t simply to help you make a pillow during our three days together.
It’s to help you become a more knowledgeable, confident maker when you return to your own sewing room.
Limited to only 6 students, so you’ll have plenty of opportunity to ask questions, receive individual guidance, and learn directly from me throughout our three days together.
Is This Workshop for You?
This workshop is designed for DIYers, home décor makers, aspiring professionals, and workroom professionals who want to strengthen their pillow-making skills and achieve more consistent, professional results.
You don’t need to be an advanced sewer.
If you can confidently operate your sewing machine and sew a basic seam, you’re ready.
And if zippers make you nervous, you’re in good company. I’ll walk you through them step by step so you understand what you’re doing—and why.
Frequently Asked Questions
Can’t Join Me for This Workshop?
You Can Still Learn With Me.
If a three-day hands-on workshop isn’t right for you right now, you can still learn with me from home.
Inside the Designs by Donna Membership, you’ll find step-by-step classes, practical resources, weekly Live Q&A, and a supportive community to help you continue building your skills and confidence.